
How to Print and Make Your Own pathfinder 2e Condition Cards
Greetings Adventurers,
Exciting news! You can now download print-and-play templates for your condition cards directly from our website. To help you get the best results, I’ve also put together a step-by-step guide on how to print, laminate, and cut your cards for a professional finish.
Step One: Printing the Templates
For the best quality, I recommend using an inkjet printer along with Photography Double Gloss A4 paper. Personally, I used the Canon Pixma G620 with KOALA Double-Sided Glossy Inkjet Paper for vibrant and crisp prints.
Once your printer is set up:
Print both the front and back sheets with the ‘Glossy’ setting (if available)
If your printer does not support duplex printing (like the Canon Pixma G620), manually rotate the sheets and set up a second print job for the card backs.
Your printed sheets should now be ready for the next step!

Step Two: Lamination
To enhance the glossy finish and add durability, laminating your printed sheets is essential. For this step, I used the Crenova A4 Laminator along with ProProd Glossy Laminating Pouches.
Lamination Process:
Place each printed sheet inside a laminating pouch, ensuring proper alignment.
Run the sheets through the laminator for a smooth, protective finish.
Allow the sheets to cool before moving to the cutting phase.
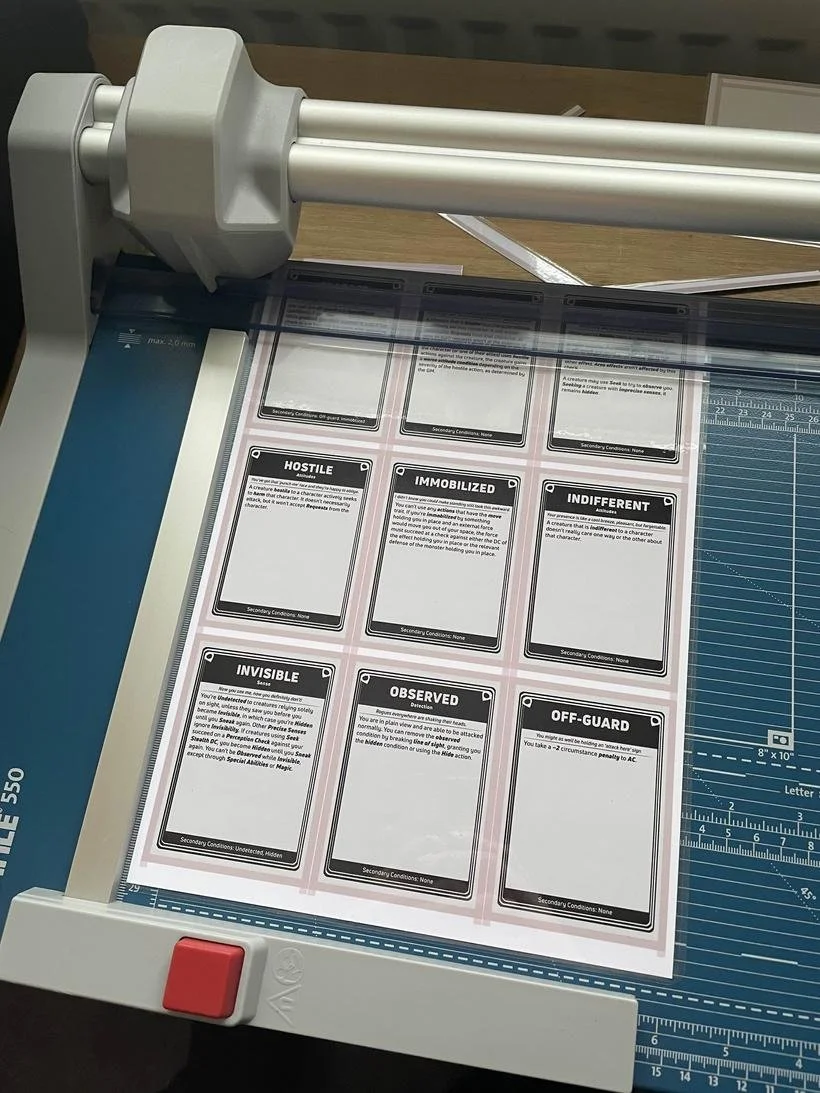
Step Three: Cutting & Rounding the Cards
Now that your sheets are laminated, it’s time to cut and round the corners to create uniform and professional-looking cards. Here’s what I used:
Dahle 550 Professional A4 Trimmer – for precise, clean cuts.
Sunstar Kadomaru Pro Corner Cutter – for smooth, rounded edges.
Cutting Tips:
Trim along the bleed lines, avoiding cuts into the card design.
Keep cuts as consistent as possible for a polished look.
Rounding the Corners:
Insert each card corner into the Sunstar Kadomaru Pro Corner Cutter.
Trim each corner to create smooth, rounded edges for a professional and comfortable feel.

Step Four: Lamination (Again!)
For a final touch, run your cut and rounded cards through the laminator once more. This step helps seal any exposed edges created during cutting, adding extra durability and making your cards pop with a sleek, finished appearance.

After completing this process, you’ll have high-quality condition cards ready for play! The entire process took me about two hours, but the end result was well worth the effort.
For even more durability, you can also sleeve your cards.
Happy gaming,
Jordan